X-OR Cloud
  • ☁️Giới Thiệu
  • ℹ️Điều khoản dịch vụ
    • Cam kết chất lượng dịch vụ - SLA
    • Chính sách bảo vệ thông tin cá nhân
    • Chính sách thanh toán
    • Cơ chế tiếp nhận và giải quyết khiếu nại
    • Các điều khoản về quyền riêng tư
    • Điều khoản sử dụng dịch vụ
  • 🚀Sản phẩm
    • X-OR Cloud
      • X-OR Cloud Kubernetes Engine
        • Hướng dẫn sử dụng
      • X-OR Cloud Elastic IP
        • Hướng dẫn sử dụng
      • X-OR Cloud Elastic Load Balancer
        • Hướng dẫn sử dụng
      • X-OR Cloud VPC
        • Hướng dẫn sử dụng
      • X-OR Cloud Backup
        • Hướng dẫn sử dụng
      • X-OR Cloud Image Management
      • X-OR Cloud Elastic Volume
      • X-OR Cloud Auto Scaling
      • X-OR Cloud Elastic Compute
        • Hướng dẫn sử dụng
    • X-OR AI
      • Hướng dẫn
        • Mua gói GPU Container
        • Quản lý Container
    • X-OR Data
      • Bắt đầu
      • Hướng dẫn
        • Mua gói Object Storage
        • Quản lý Bucket
        • Tích hợp Wordpress
        • Sử dụng client
        • Đồng bộ dữ liệu từ sử dụng tool s3sync
        • Tích hợp Object Storage với Javascript
        • Tích hợp Object Storage với Java
        • Tích hợp Object Storage với Go
        • Tích hợp Object Storage với PHP
        • Tích hợp Object Storage với C#
        • Tích hợp Object Storage với NodeJS
        • Sử dụng s3 browser
        • Sử dụng với Object Manager tại X-OR
        • Bật xác thực 2FA
        • Sử dụng MinIO Client
        • Sử dụng rclone
      • FAQs
        • Object Storage là gì?
        • Lợi ích Object Storage mang lại?
        • Có thể thay đổi tên Bucket không?
        • Vì sao không xóa được Bucket?
    • X-OR Stack
  • 🌟Giải pháp
    • Quản lý và chia tài liệu trong doanh nghiệp
    • Sao Lưu Dữ Liệu Đảm Bảo An Toàn và Phục Hồi Nhanh Chóng
    • Giải pháp Backup & Recovery cho Windows Server sử dụng Veeam và Object Storage
  • 📗Tutorials
    • XOR Cloud - Portal
      • Kubernetes
      • Keypair
      • Elastic IP (Public IP)
      • Elastic Compute (Cloud Server)
      • Virtual Private Cloud
    • Linux Basics
      • Hướng dẫn cơ bản về Dòng lệnh Linux
    • JavaScript
      • Cách sử dụng Bảng điều khiển dành cho nhà phát triển JavaScript
      • Cách viết chương trình JavaScript đầu tiên của bạn
      • Cách thêm JavaScript vào HTML
    • React
      • How To Set Up a React Project with Create React App
      • How To Create React Elements with JSX
      • How To Create Custom Components in React
    • NodeJS
      • What is Node.js?
      • Node JS Environment Setup - Node.js installation
      • How To Use Node.js Modules with npm and package.json
    • Python
      • How to Install Python on Windows 10
      • Python Variables
      • Conditional Statements in Python
    • Database
    • NextCloud
      • Hướng dẫn dùng trên giao diện Web
        • Files
        • Lưu trữ bên thứ 3
      • Hướng dẫn sử dụng trên PC ( Windows )
    • Multiple PXE Server On Cloud
    • Storware
      • Cài đặt
    • Window Server Basics
      • Hướng dẫn bảo mật Windows Server cơ bản
    • Tự động sao lưu cơ sở dữ liệu lên Object Storage tại X-OR Cloud
    • Cài đặt và thiết lập Backup File trên Windows Server lên Object Storage sử dụng Veeam
Powered by GitBook
On this page
  1. Tutorials
  2. NodeJS

Node JS Environment Setup - Node.js installation

Last updated 1 year ago

In my previous post, we have discussed about “Introduction to Node JS Platform”. Now we have some idea about what is Node JS and what is not Node JS. In this post, we will discuss about “How to setup Node JS Base Environment” in Windows OS and Mac OS X.

Node JS Base Environment Setup on Windows

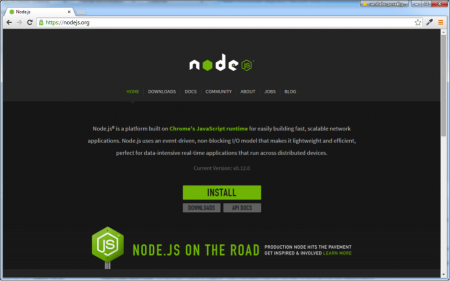
  1. Access Node JS Official Website “”

Here we can find “INSTALL” button. If we want to download latest stable version, we can click on this button. If we want to select Node JS Platform based on our Hardware and Software requirements like Windows 32bit or 64bit OS, please click on “Downloads” button and select your required Node JS version to download.
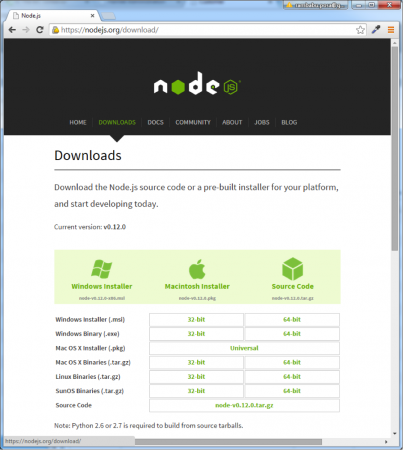
  1. Please click on “INSTALL” button to download latest Node JS Platform Version 0.12.0, this is the latest version as of writing this post.

  2. Please double click on “node-v0.12.0-x64.msi” file to start Installation process.
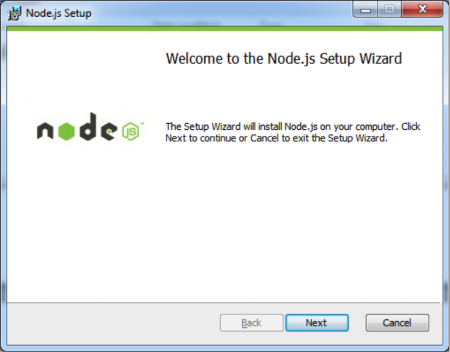
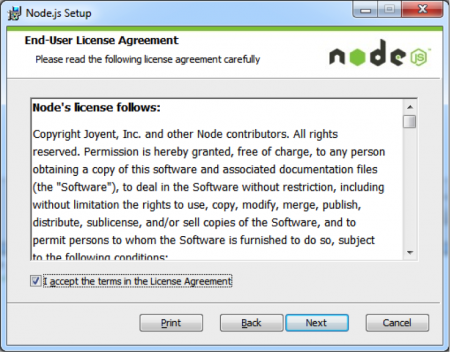
  3. Click on “Next” Button. Accept License Agreement and Click on “Next” Button.
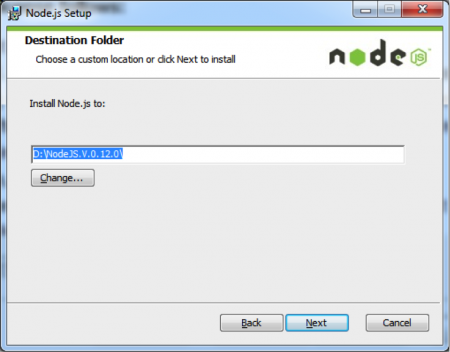
  4. Choose your required location to install.
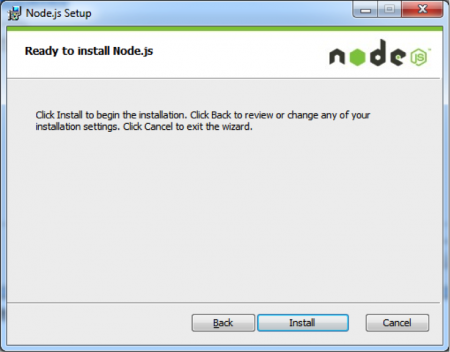
  5. Choose Default values and click on “Install” Button.
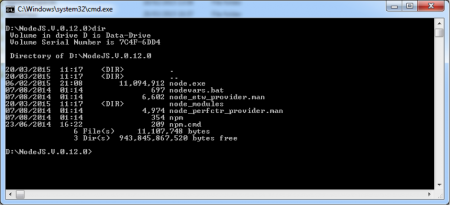
  6. Open Node JS Platform Home in your Explorer.
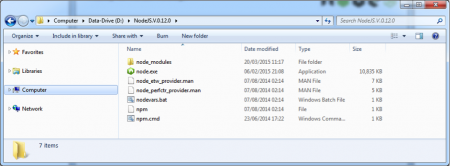
Here we can observe node.exe and npm.cmd files and also “node_modules” folder. Now onwards, we will refer the following names for easier discussion purpose NODSJS_HOME= D:\NodeJS.V.0.12.0 NODEJS_MODULES= D:\NodeJS.V.0.12.0\node_modules NODEJS_NPM= D:\NodeJS.V.0.12.0\node_modules\npm NOTE:

  • If we use Windows Installer like “node-v0.12.0-x64.msi” or exe file then we doesn’t need to do anything to SYSTEM variables. This installer will take care of everything.

  • If we use other formats or if these are missing in your system environment variables, please add the following variables to SYSTEM properties; PATH=C:\Users\[username]\AppData\Roaming\npm;D:\NodeJS.V.0.12.0\;%PATH%

8. Open Command prompt at NODSJS_HOME or anywhere like D:\
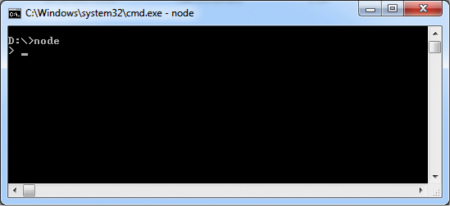
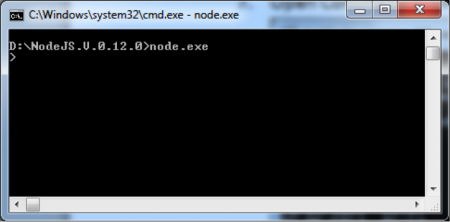
  1. Run “node.exe” command

Now we are able to see “>” prompt, that means our Node JS Base Environment Setup is done.

  1. Check Node JS Version: Use the following command to know your Node JS Version from Command prompt. node –v
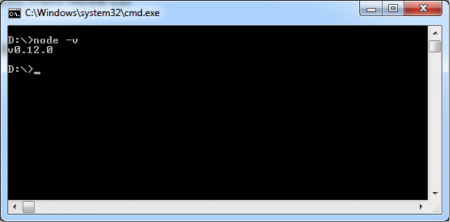
  2. Exit from Node CLI: We can use “process.exit()” command to exit from Node CLI.
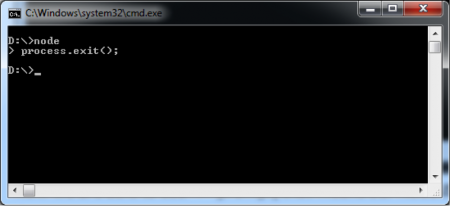
We can also use Ctrl + D OR use Ctrl + C Twice to exit from Node CLI.

Node.js Base Environment Setup on Mac OS X

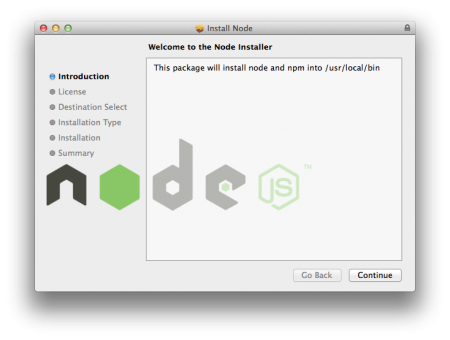
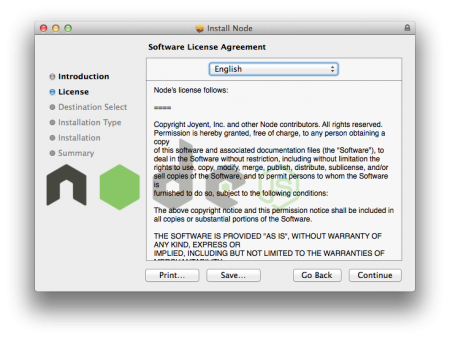
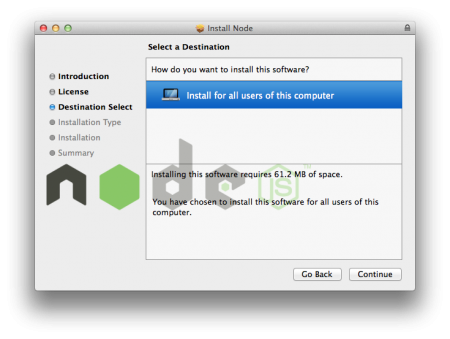
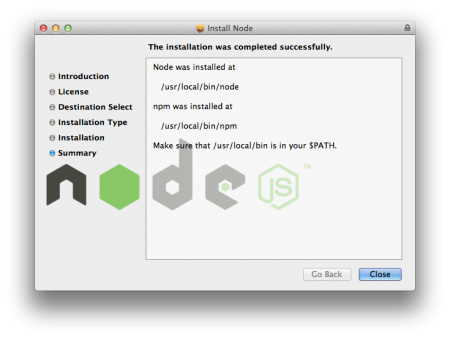
For Mac OS X, download the pkg installer and run it. You will get below screens in order.

As you can see from above image, /usr/local/bin should be in the PATH variable. Usually it’s there by default but you can check it using below command.

pankaj:~ pankaj$ echo $PATH
/usr/bin:/bin:/usr/sbin:/sbin:/usr/local/bin:/Library/Java/JavaVirtualMachines/jdk1.7.0_60.jdk/Contents/Home/bin:/usr/local/apache-maven-3.0.5/bin:
pankaj:~ pankaj$ 

Below are some sample commands to check the version and start Node CLI and exit it.

pankaj:~ pankaj$ node -v
v0.12.1
pankaj:~ pankaj$ node
> process.exit();
pankaj:~ pankaj$ node
> 
(^C again to quit)
> 
pankaj:~ pankaj$ 

Before starting some simple Node JS examples, we will discuss about Major Components of Node JS Platform in next post.

📗
https://nodejs.org/en/